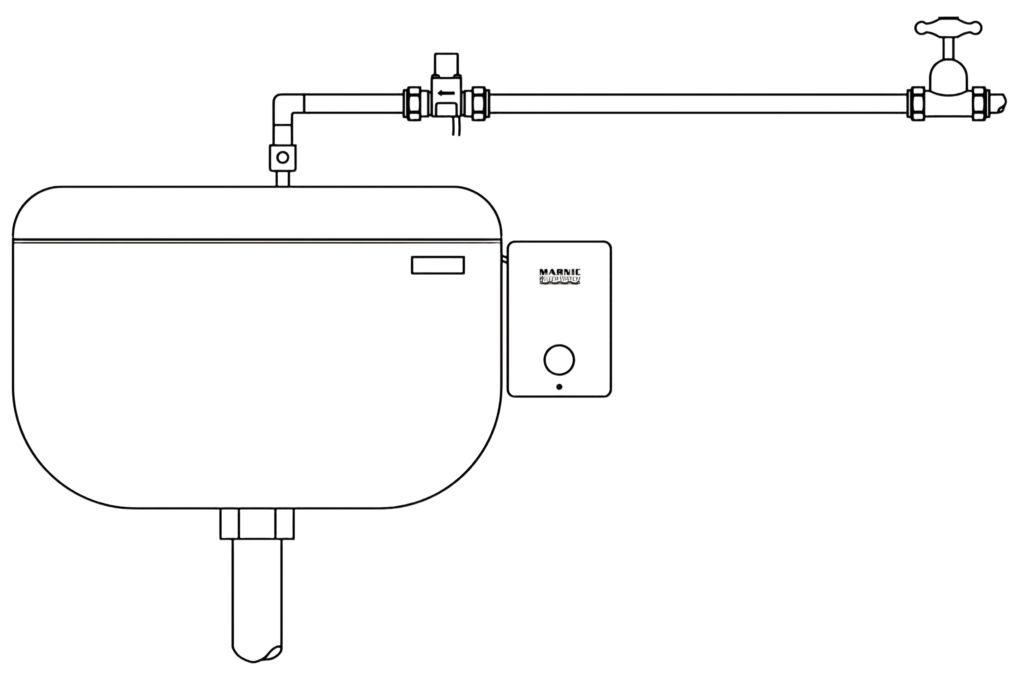
Installing the Battery Unit
1
- Isolate the water supply.
2
- Cut the pipe and flush it out with water.
- Fit the valve horizontally (vertically in the direction of the arrow), leaving the petcock in place to regulate the flow.
3
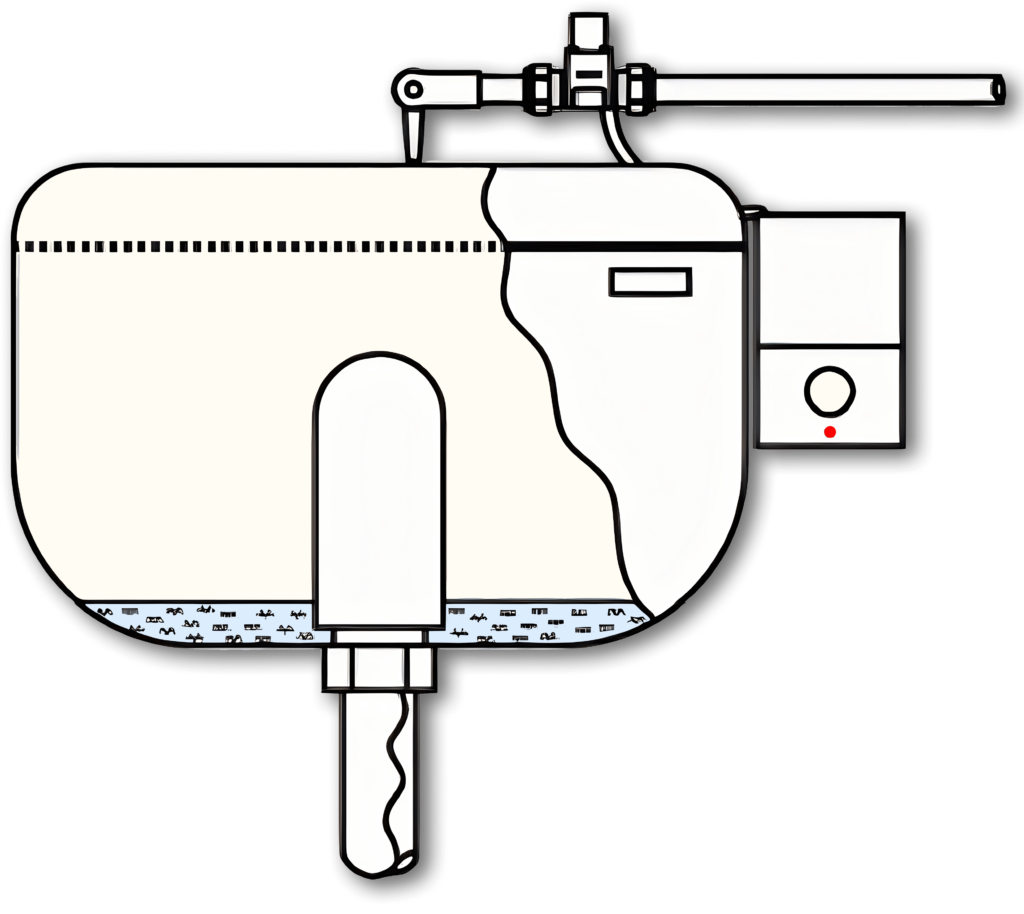
- Select a position for the Water Watch near the urinals where it will detect use.
- Attach the base-plate to the wall/ceiling.
- Note that the control box hooks under the bottom edge and is retained by raising the head of the internal screw as shown below:

4
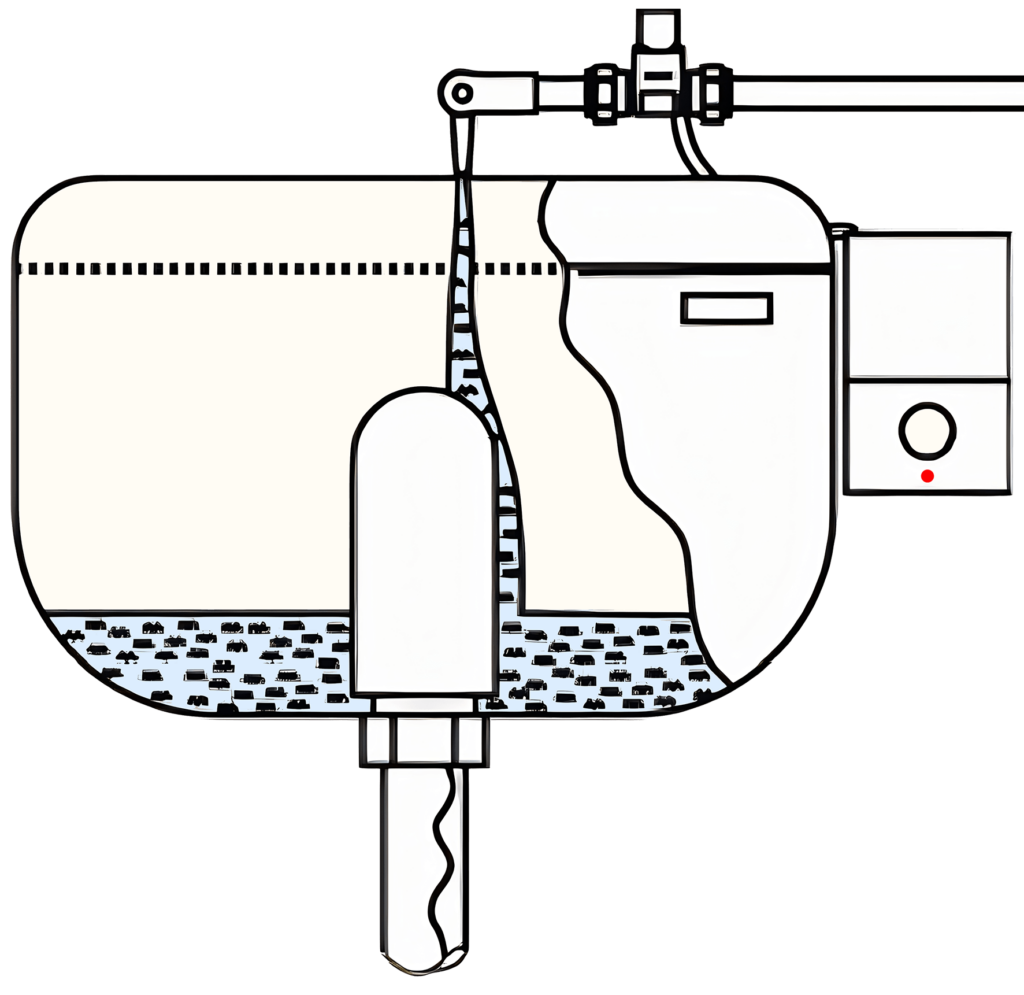
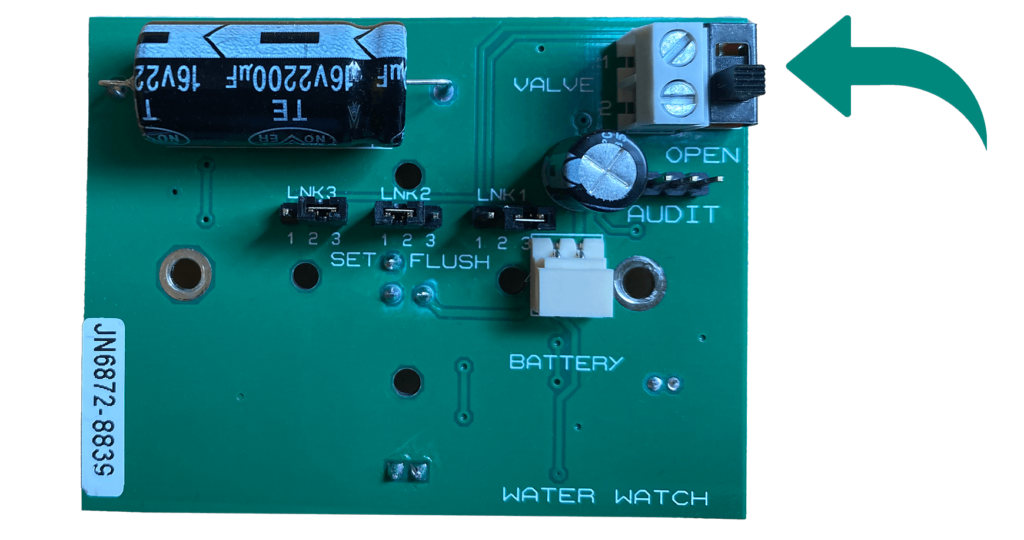
- Wire the 1.1m cable from the valve to the Water Watch controller.
- If the cable is not long enough it can be extended using the two-way terminal block provided.
- Leave a small loop inside the controller so that the lid can be detached from the mounting plate.
- Attach the battery connector.

5
- IMPORTANT!
- This step is critical because it tells the unit how long the cistern takes to flush. It can then release the water supply at the precise time required for the selected flush cycle.
- To complete this, follow the simple ABC below: