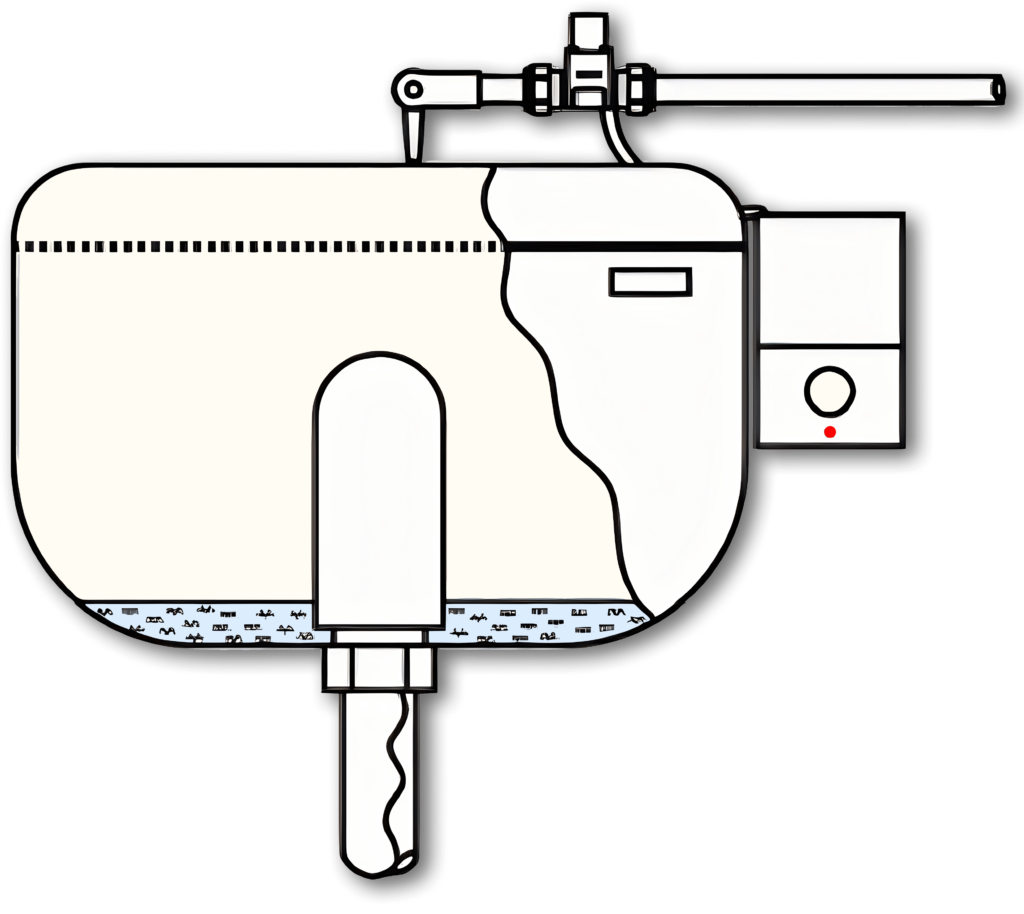
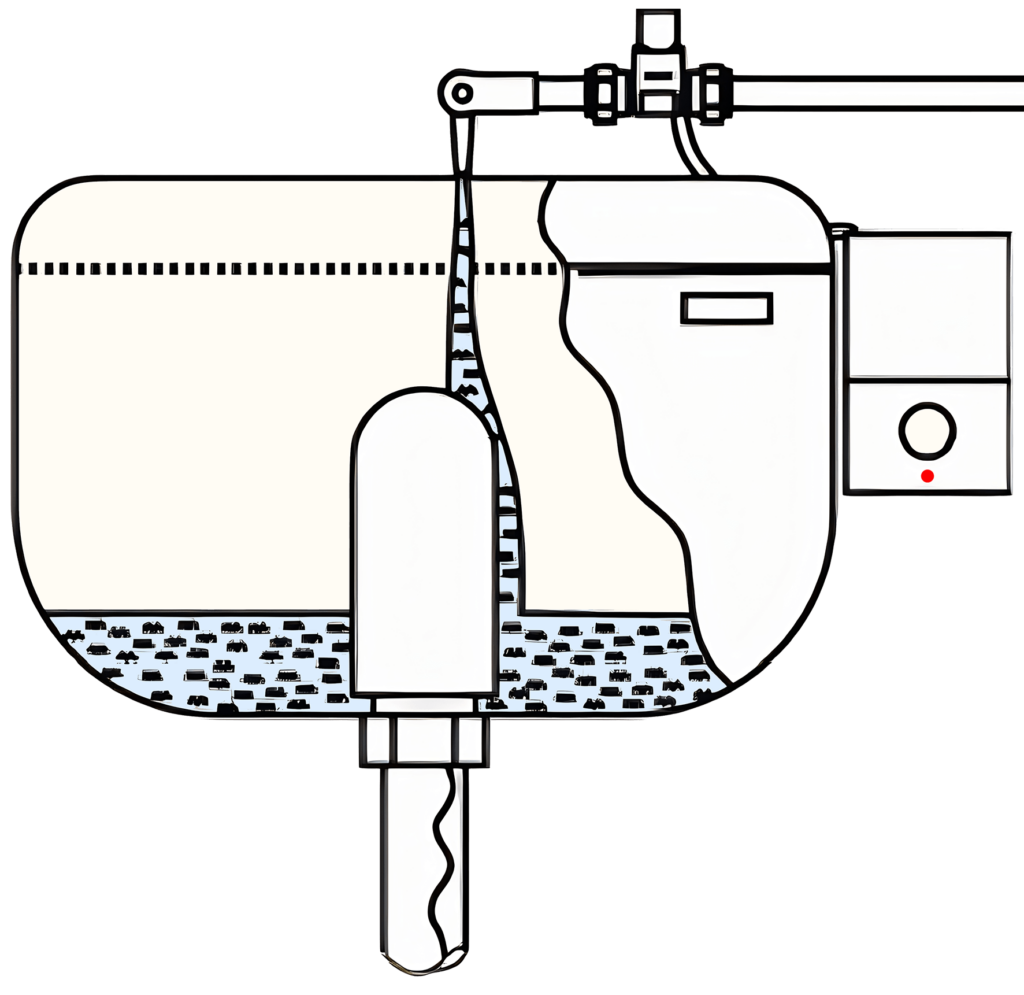
Opening and Closing

Lift the tab as shown to release the lid from the base.

Along the bottom edge a tongue and groove holds the lid to the base.

Installing the Mains Unit

1

  • Isolate the water supply.

2

  • Cut the pipe and flush it out with water.
  • Fit the valve horizontally (vertically in the direction of the arrow), leaving the petcock in place to regulate the flow.

3

  • Drill through both access ports on the base.
  • Run the mains cable (following wiring regulations) through the cable entry to the three terminal connector blocks and the valve cable to the circuit board terminal block.
  • There are four cable guides on the base. Leave a small valve cable loop inside the controller so that the lid can be removed. A terminal block is provided to extend the cable.
  • Mount the base on the wall or ceiling close to the urinals, Connect the blue lead (low volts) to the connector marked ‘power’. 

4

  • IMPORTANT!
  • This step is critical because it tells the unit how long the cistern takes to flush. It can then release the water supply at the precise time required for the selected flush cycle.
  • To complete this, follow the simple ABC below:
A

Start with the cistern empty and the valve closed as show below.

B

Open the valve into the position shown.

The lamp will flash on detection.

C

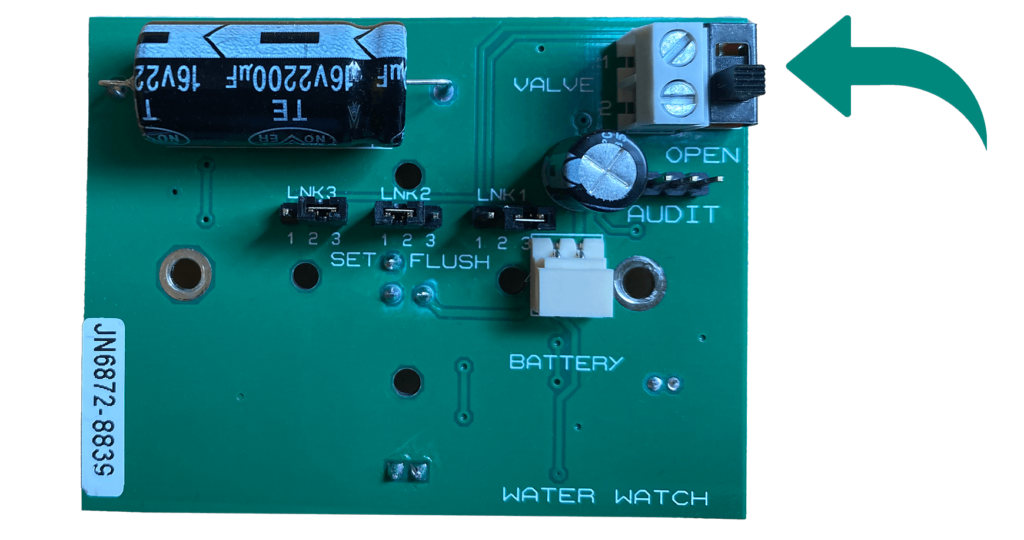
When the flush starts, wait a few seconds for it to establish, then CLOSE THE VALVE.

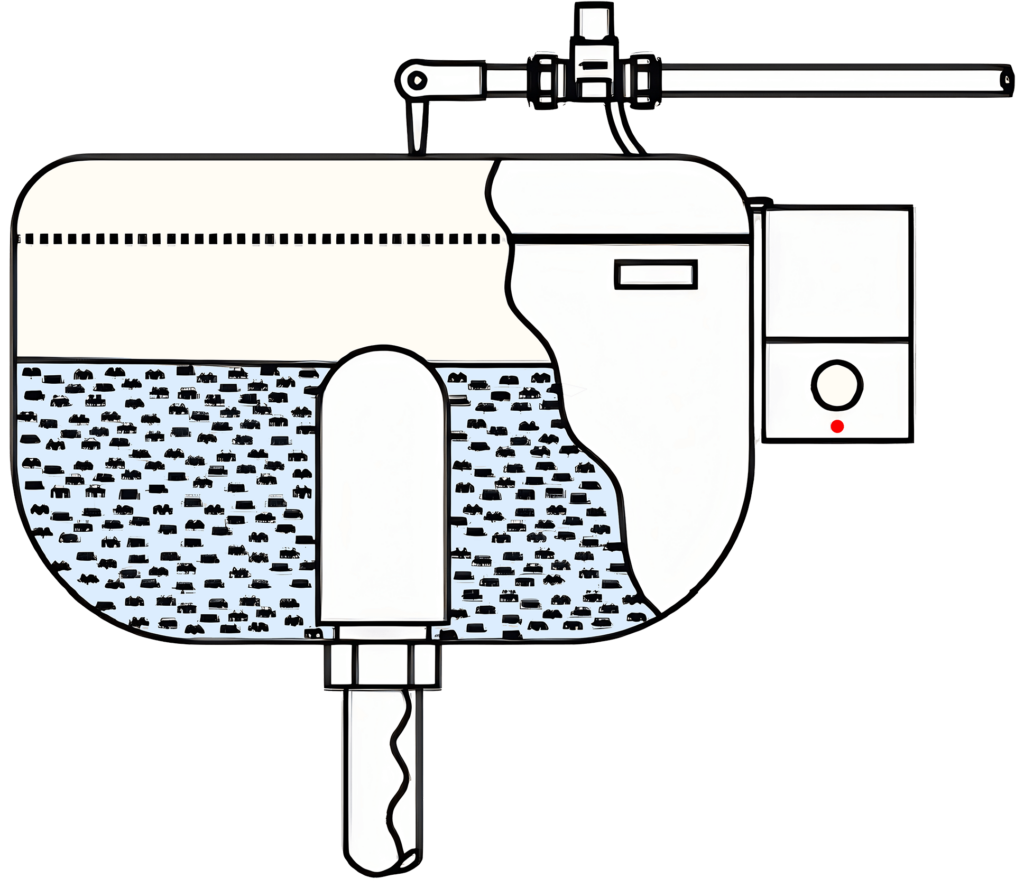
The time taken for the cistern to fill will now be memorised and used in all subsequent automatic flushes.

Note that only fill-times greater than 1 min. are saved.

The Water Watch is now fully operational!
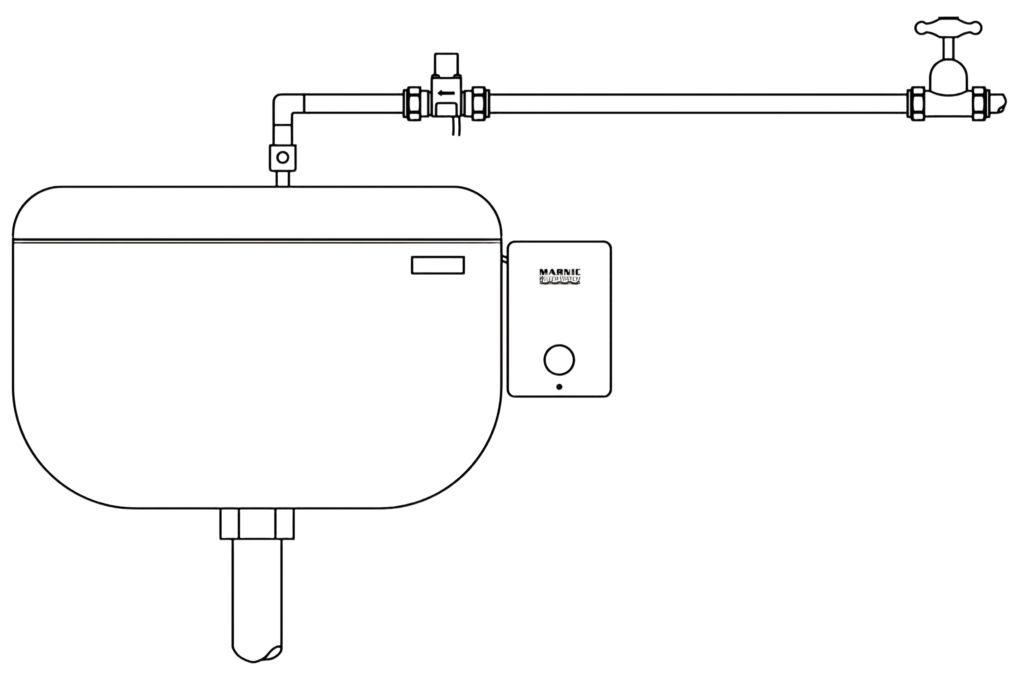
Close the lid.

  • Never leave the switch in the ‘open’ position.
  • If the lamp if flashing, check that the switch is in the correct closed position.
  • The lamp will now only operate when the battery needs changing.
  • Remember that only fill-times of greater than 1 minute will be saved.